Creating Invite Codes for Your Customers🔗
In order to become your customer, the person who wants your services needs to enter an invite code in the TDN smartphone app. Entering a code received from you associates the customer with your tuning business and directs all of the customer’s scans to you. Requiring a code provides you a certain degree of control over who is allowed to send you tuning files.
You may wish to create several invite codes for different types of potential customer. For example, you might have:
-
A code that you give to people you already know and trust and whose business you want to accept automatically.
-
A code that you give to people that contacted you, but you don’t really know them. Maybe you want to check them out a bit before you accept them or maybe you’re worried that they’ll share the code without your permission. Such customers can be screened rather than auto accepted.
-
A published code that is used for promotional purposes. In addition to screening new customers who enter this kind of code, you may want to set an expiration date for the code and a maximum number of uses for the code to match the promotion being run.
Creating a New Invite Code🔗
-
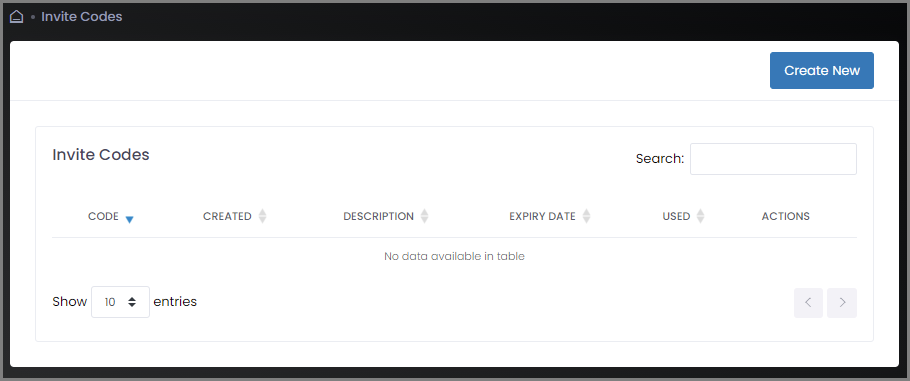
Select Invite Codes from the sidebar menu. The Invite Codes page appears. Initially, the list of invite codes will be empty.
-
Click Create New to add an invite code.

-
Fill out the top three fields:
-
Description: A descriptive name for this code. This is what you will see displayed in the invite code list.
-
Expiry Date: The date (if any) after which the code may no longer be used. For example, if the code is used for promotional purposes, this date may correspond to the end of the promotion.
-
Max Uses: The total number of times this code may be used.
-
-
If you wish to screen customers, enter the Initial Response Message that customers will be sent when their invite code is received. (This field may be left blank if you plan to auto accept customers. It will not be used for automatically accepted customers.)
Note
If you DO NOT wish to screen customers, check the Auto Accept box.
-
Enter the Auto Accept Message that customers will be sent automatically when they are approved / accepted. This message is sent to all customers, whether they have been accepted automatically or manually.
-
Click Create.
Editing and Deleting Invite Codes🔗
Invite codes that you have created will be listed in the Invite Codes screen. (Select Invite Codes from the sidebar menu.)
If your web browser window is large enough, each invite code will have the following two icons in the Actions column:
| Icon | Description |
|---|---|
| Select this icon to edit the invite code. | |
| Select this icon to delete the invite code. |
Note
If your web browser window is not very wide, you may not see the two icons above. Instead, there will be a blue plus sign to the left of the invite code. Select this icon to display the remaining options.